How to Clean Your Dryer Vent?

Cleaning your dryer vent is one of those chores that many people forget to do. But it’s very important for keeping your home safe and your dryer working properly. If your clothes are taking longer to dry or your laundry room feels hot, it might be time to check your dryer vent. Let’s walk through everything you need to know about dryer vent cleaning and how you can do it yourself.
Why Is Dryer Vent Cleaning Important?
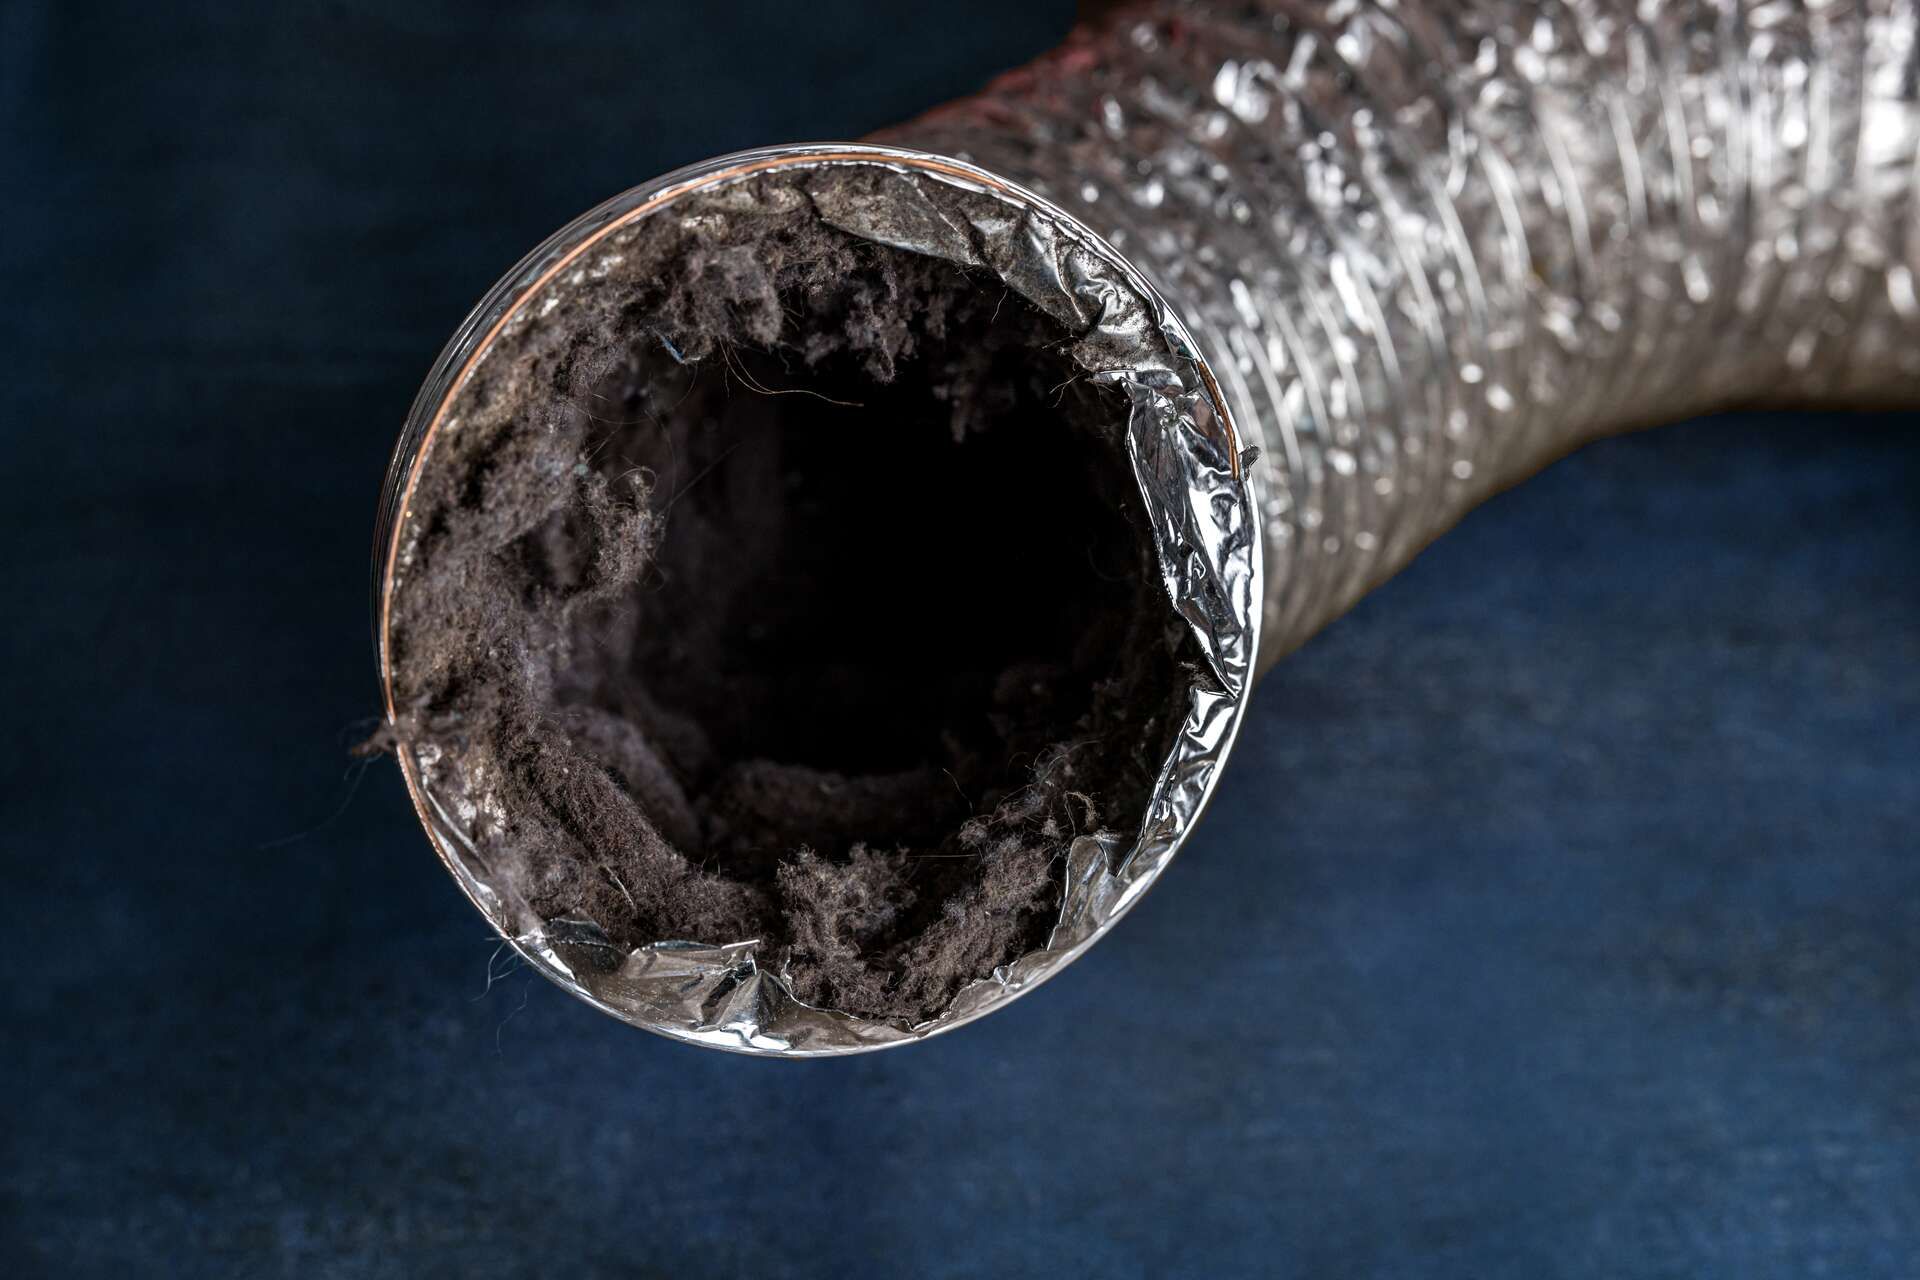
The dryer vent carries hot air and lint from your dryer to the outside of your home. Over time, lint builds up in the vent, and that can cause several problems:
- Fire hazard: Lint is very flammable. If too much builds up, it can catch fire.
- Longer drying times: Your clothes won’t dry as quickly when the vent is blocked.
- Higher energy bills: A clogged vent makes your dryer work harder, using more electricity.
- Shorter dryer life: The extra strain on the machine can lead to breakdowns and repairs.
By cleaning your dryer vent, you can help your dryer run better, lower your bills, and keep your family safe.
How Often Should You Clean Your Dryer Vent?
Experts recommend cleaning your dryer vent at least once a year. But if you do a lot of laundry or have pets (which means more lint and hair), you might need to clean it more often.
You should also check the vent if you notice:
- Your clothes are still damp after a cycle
- The dryer feels hot on the outside
- You smell something burning
There is lint around the dryer hose or vent opening
Tools You’ll Need
Before you start dryer vent cleaning, gather these tools:
- A vacuum cleaner (with a hose attachment)
- A dryer vent brush or lint brush
- A screwdriver (to loosen the vent clamp)
- A microfiber cloth or rag
- Gloves and a mask (optional for dusty jobs)
You can also buy a dryer vent cleaning kit at your local hardware store or online.
Step-by-Step: How to Clean Your Dryer Vent
Follow these easy steps to clean your dryer vent safely and correctly:
Step 1: Unplug and Move the Dryer
- Safety comes first! Unplug the dryer from the wall outlet. If you have a gas dryer, turn off the gas valve too.
- Next, carefully move the dryer away from the wall. You’ll need space to work behind it.
Step 2: Disconnect the Vent Hose
- The dryer vent hose (also called a duct) connects your dryer to the wall vent. Use a screwdriver or your hands to loosen the clamp that holds it in place.
- Once it’s loose, gently pull the hose off both the dryer and the wall.
Step 3: Vacuum the Hose
- Use your vacuum cleaner to suck up any lint inside the vent hose. If the hose is long, you can also use a vent cleaning brush to loosen and pull out stuck lint.
- You may be surprised by how much lint has built up inside!
Step 4: Clean Inside the Wall Vent
- Next, clean the vent opening in the wall. Insert your brush or vacuum hose into the vent and remove as much lint as you can.
- Some dryer vent cleaning kits come with a long brush that attaches to a drill. These can help you reach deeper into the wall for a better clean.
Step 5: Check and Clean the Outside Vent
- Go outside your home and find where the dryer vent comes out. It’s usually a flap or hood near the ground.
- Make sure the flap opens easily and isn’t blocked by leaves, lint, or animal nests. Clean out any buildup around the outside vent.
- If the flap is broken, it’s a good idea to replace it.
Step 6: Reconnect the Hose
- Once everything is clean, reconnect the dryer vent hose to both the dryer and the wall. Make sure the clamps are tight, so nothing falls off when the dryer is running.
- Push the dryer back into place, being careful not to crush the hose.
Step 7: Plug in the Dryer and Test
- Plug the dryer back in (and turn the gas back on if needed). Run the dryer on the air-fluff or cool setting for 10–15 minutes. Go outside and check if warm air is blowing out of the vent. If it is, great job!
Bonus Tips to Keep Your Dryer Vent Clean
Keeping your dryer vent clean isn’t just a once-a-year job. Here are a few tips to help you stay on top of it:
- Clean the lint trap after every load. This helps stop lint from building up in the vent.
- Use rigid or semi-rigid ducting. Avoid flexible plastic or foil hoses, as they collect lint more easily.
- Avoid pushing the dryer too close to the wall. This can crush the hose and block airflow.
- Check the outside vent regularly. Snow, dirt, and even animals can block the opening.
When to Call a Professional
If you can't reach all the lint, or if your dryer vent is very long or runs through the attic, it might be time to call a professional to improve air quality.
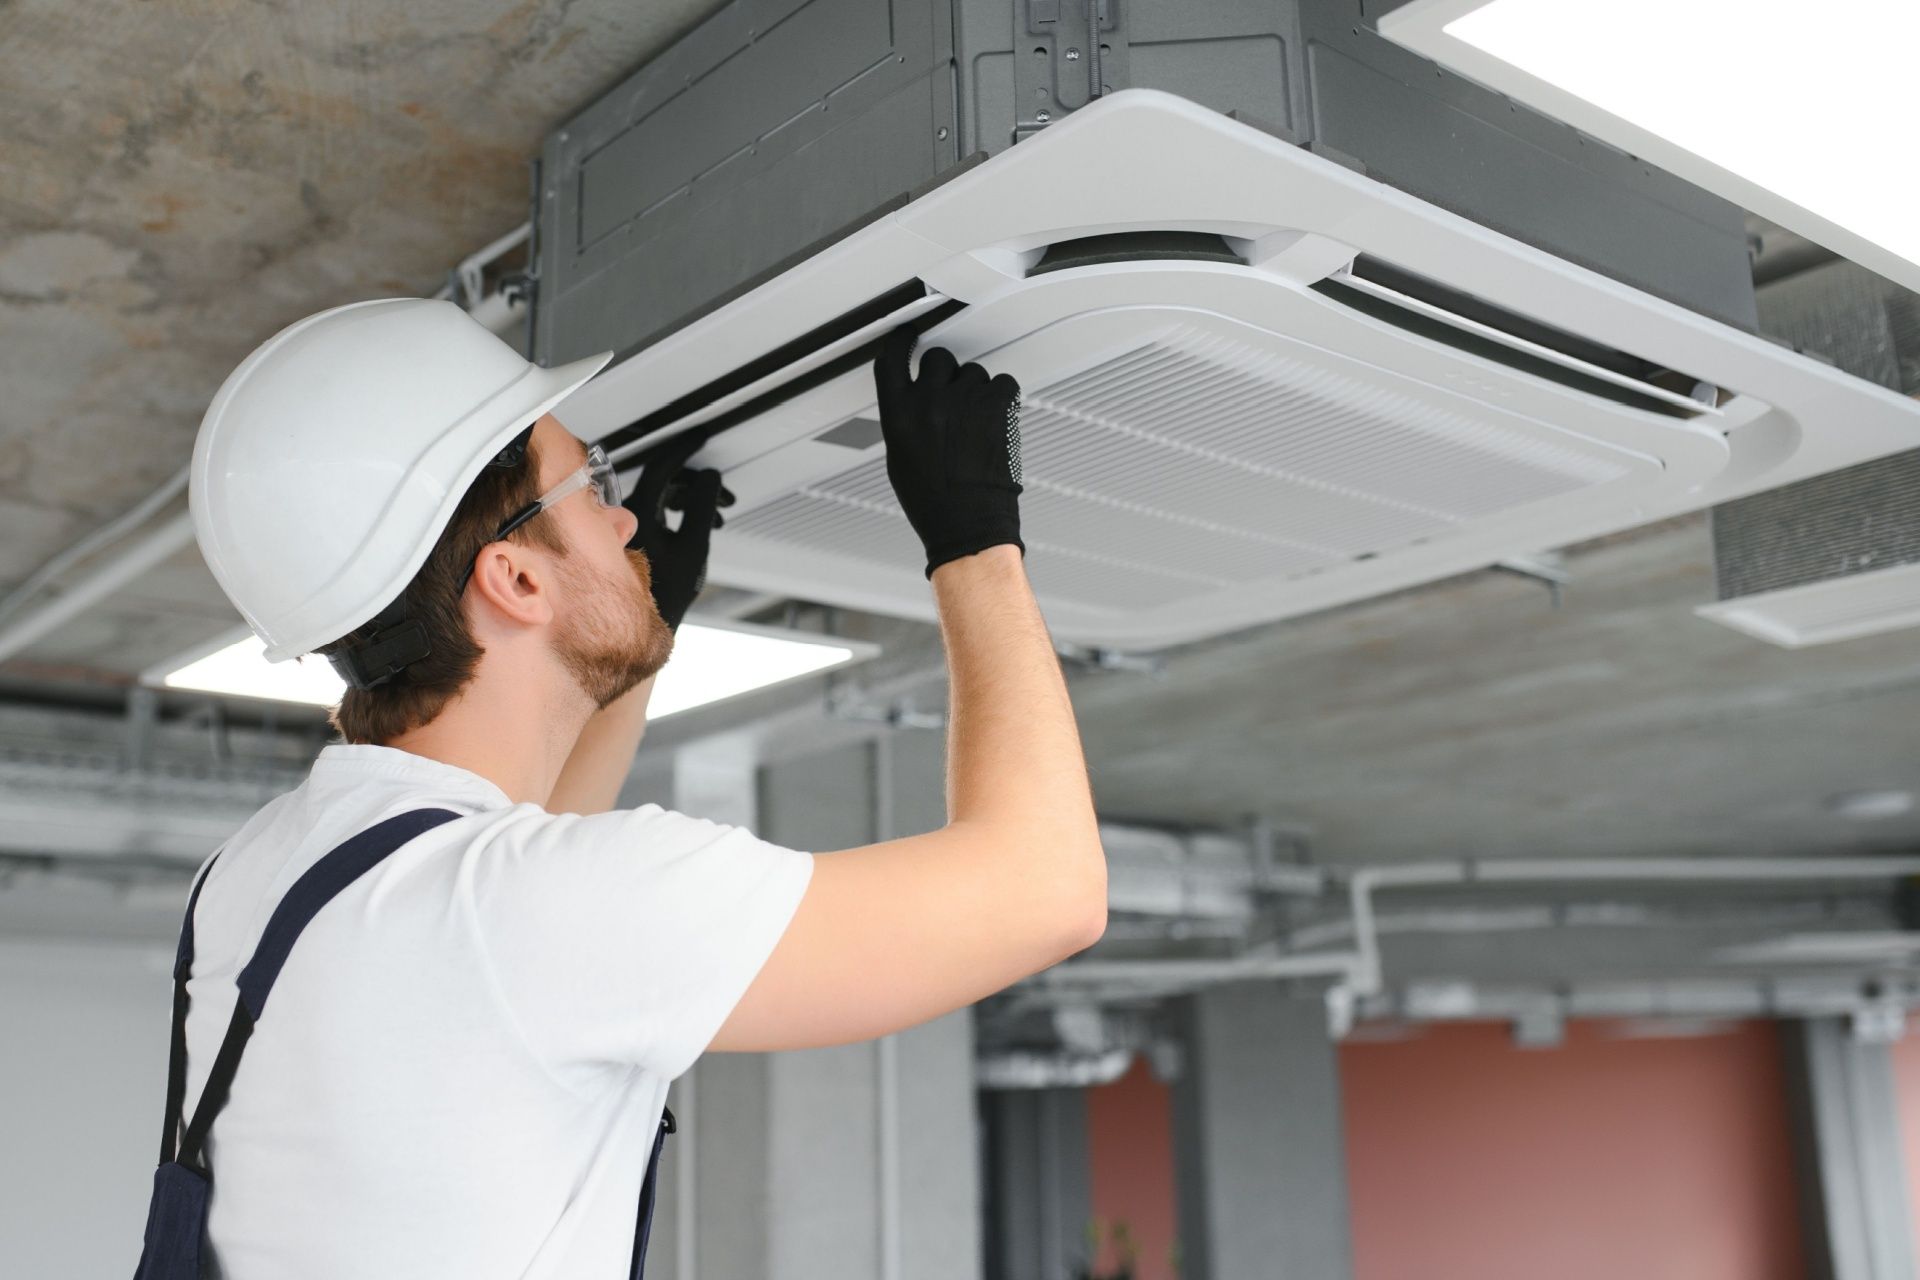
Professional dryer vent cleaning services use special tools to clean deep into your vent system. They can also inspect for damage and make sure your setup is safe.
At GNV, we provide expert dryer vent cleaning to help you avoid fire risks and keep your dryer working like new.
Final Thoughts
Cleaning your dryer vent might not be the most fun job, but it’s an important one. With a little time and the right tools, you can do it yourself and keep your home safe. Remember, regular dryer vent cleaning helps your dryer last longer, lowers energy bills, and protects against fire.
If it’s been more than a year since your last cleaning—or if you’re not sure it was done right—now is a great time to take action.
Contact GNV Heating and Air Conditioning today to schedule your professional dryer vent cleaning!
FAQs: Dryer Vent Cleaning
Why is dryer vent cleaning important?
Cleaning your dryer vent is crucial to prevent fire hazards, improve drying efficiency, reduce energy consumption, and extend the lifespan of your dryer.
How often should I clean my dryer vent?
It's recommended to clean your dryer vent at least once a year. However, if you have a large family, pets, or frequently dry heavy loads, cleaning every 6 to 9 months is advisable.
What are the signs that my dryer vent needs cleaning?
Signs include longer drying times, clothes remaining damp after a cycle, a burning smell, the dryer feeling hot to the touch, and increased humidity in the laundry room.
Can I clean the dryer vent myself
Yes, you can use a dryer vent cleaning kit to clean accessible vents. For complex systems or vents with multiple bends, it's safer and more effective to hire a professional like GNV. Call us to book your dryer vent cleaning services today!
Disclaimer: The information on this website and blog is for general informational purposes only and is not professional advice. We make no guarantees of accuracy or completeness. We disclaim all liability for errors, omissions, or reliance on this content. Always consult a qualified professional for specific guidance.


